
Irresistible Homemade Chocolate Bars Recipe
Picture this: the rich, velvety aroma of dark chocolate melting gently in your kitchen fills the air, promising a delightful treat that you crafted with your own hands. The glossy sheen of the melted chocolate, speckled with crunchy nuts and jewel-like dried fruits, catches your eye as you prepare to indulge in something truly special. This Irresistible Homemade Chocolate Bars Recipe is not only a luscious feast for your taste buds but also a quick and gratifying way to elevate your dessert game effortlessly. Whether you’re craving a sweet pick-me-up or want to impress friends with a handmade delight, these bars have you covered!
Why You’ll Love This Irresistible Homemade Chocolate Bars Recipe
- Simple Ingredients: Uses common pantry staples like dark chocolate chips, coconut oil, and vanilla extract—no need for any complicated or hard-to-find components.
- Perfect for Weeknights: Whip up a batch after dinner and enjoy a guilt-free indulgence without the sugar overload of store-bought bars.
- Impressive Presentation: Customizable with nuts or dried fruits for a gorgeous, gourmet look that will wow anyone lucky enough to get a taste.
- Customizable: Swap nuts for your favorite dried fruits or add sea salt for a perfect sweet-and-salty balance tailored exactly to your craving.
Why This Irresistible Homemade Chocolate Bars Recipe Works
This recipe thrives on the perfect marriage of flavor and simplicity. The 70% cocoa dark chocolate chips provide a deep, rich base that isn’t overly sweet, while the coconut oil ensures a luscious, creamy texture that hardens just right once chilled. Adding pure vanilla extract and a pinch of sea salt enhances and balances the chocolate’s natural bitterness, bringing all the flavors to life without overwhelming the palate. By melting the chocolate in short intervals and stirring frequently, you achieve that silky smooth finish essential for truly decadent chocolate bars. It’s a smart, straightforward process that yields impressive results every time.
Ingredients You’ll Need
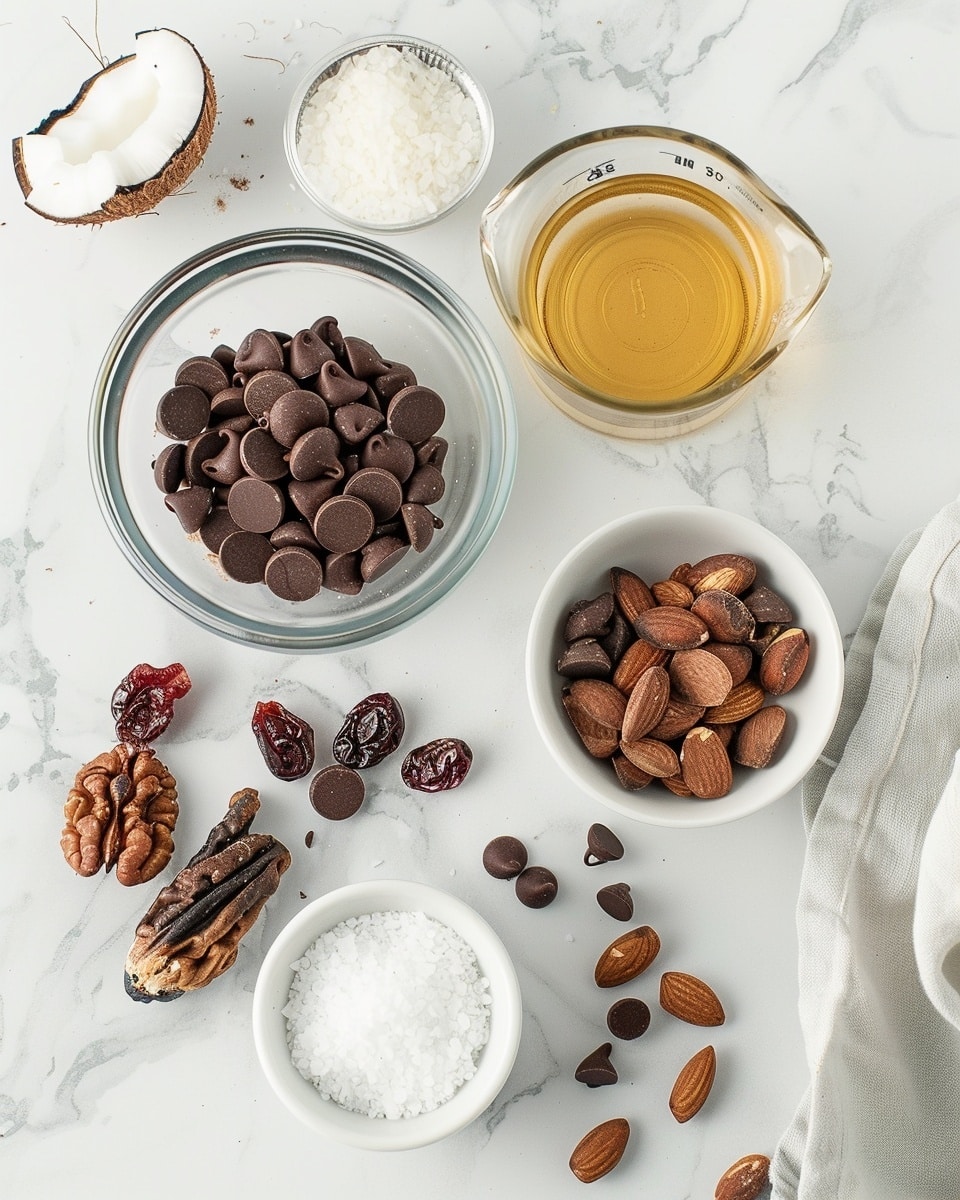
The magic behind these homemade chocolate bars lies in a handful of simple yet essential ingredients that come together beautifully to deliver huge flavor in minimal time.
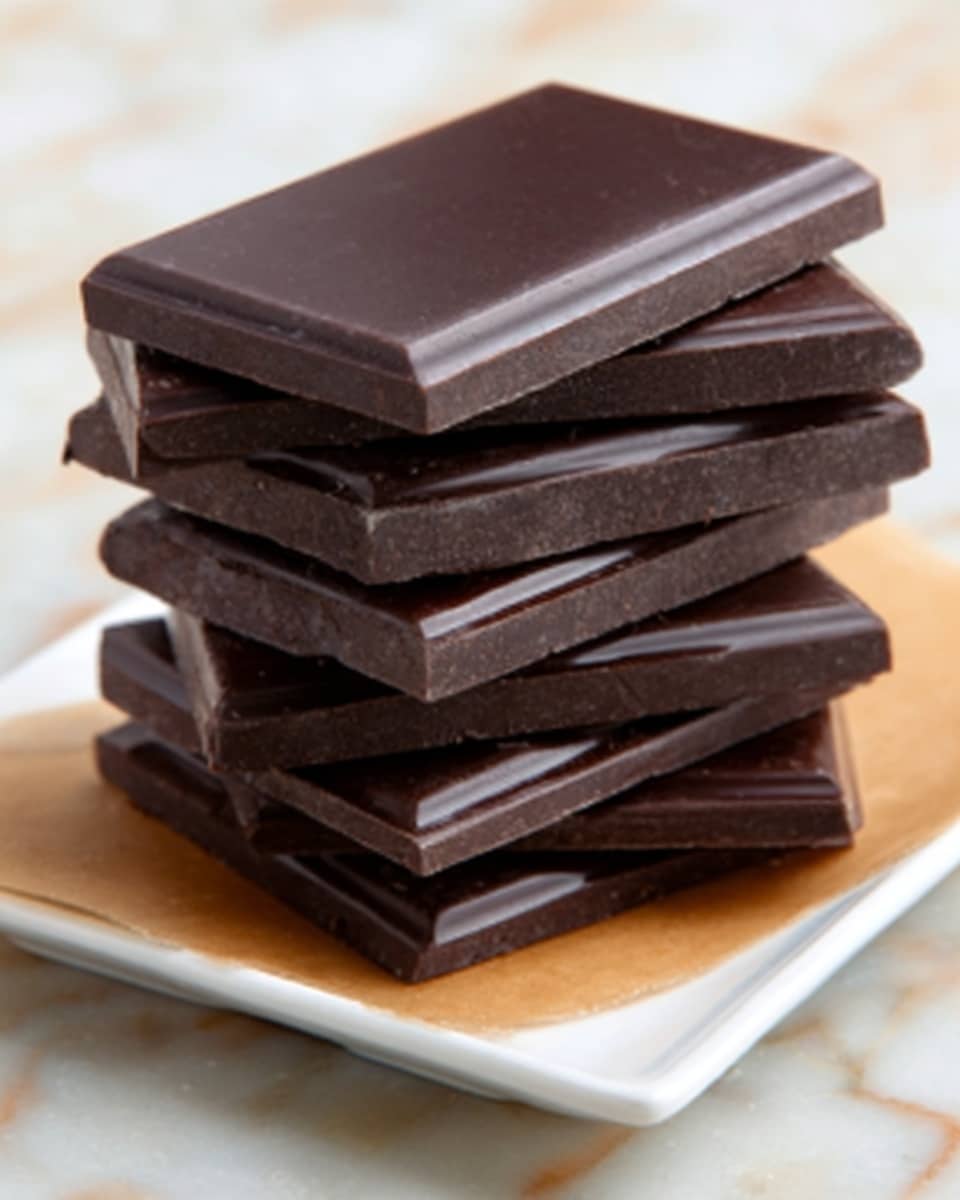
- Dark chocolate chips (70% cocoa): The heart of the recipe, delivering rich chocolate goodness with just the right intensity.
- Coconut oil: Adds creaminess and helps the bars set perfectly with a glossy sheen.
- Pure vanilla extract: Brings warmth and enhances the chocolate’s complexity.
- Sea salt: Balances sweetness and intensifies the chocolate flavor.
- Nuts or dried fruits: Adds crunch, texture, and bursts of natural sweetness or tartness.
Ingredient Substitutions & Tips
- Dark chocolate chips: Feel free to use milk chocolate chips for a sweeter, creamier bar or vegan chocolate chips if you prefer dairy-free options.
- Coconut oil: Butter or coconut butter can be used instead for a richer taste, but coconut oil helps keep the bars firmer when chilled.
- Vanilla extract: Almond extract is a lovely alternative that adds a nutty aroma.
- Nuts or dried fruits: Swap almonds and cranberries for pistachios, walnuts, dried apricots, or even shredded coconut for exciting new textures and flavors.
👨🍳 Pro Tips for Perfect Results
- Use high-quality chocolate chips: The richness and depth of flavor depend hugely on your chocolate’s quality.
- Stir frequently when melting: Prevents burning and ensures a silky smooth texture.
- Chill bars completely: Patience is key—allowing full chilling time makes for firmer, more satisfying bars.
- Customize topping placement: Press the nuts or dried fruits slightly into the chocolate for better adherence.
- Room temperature ingredients: Ensure your vanilla extract and coconut oil aren’t too cold for easier mixing.
How to Make Irresistible Homemade Chocolate Bars Recipe
Step 1: Prepare your workspace
Clear your counter and gather all your ingredients and the tools you’ll need, like a microwave-safe bowl and silicone molds or a lined baking tray. Having everything ready makes the process smooth and enjoyable.
💡 Pro Tip: Silicone molds work beautifully to create neat bars that pop out easily!
Step 2: Melt chocolate and coconut oil
Place the dark chocolate chips and coconut oil in your microwave-safe bowl. Microwave in 30-second intervals, stirring thoroughly between each, until the mixture is fully melted and gleaming with smoothness. This ensures your chocolate doesn’t burn and stays creamy.
💡 Pro Tip: Stir well after each interval to distribute heat evenly.
Step 3: Add flavorings
Stir in the pure vanilla extract and sea salt into the warm chocolate mixture. This simple step transforms your chocolate into a luxurious blend that walks the line between sweet, salty, and aromatic perfection.
💡 Pro Tip: Don’t skip the salt—it balances and heightens the chocolate notes wonderfully.
Step 4: Pour into molds
Transfer the chocolate mixture into your chosen molds or a lined baking tray. Gently tap the molds on the counter to remove air bubbles, ensuring your chocolate bars have a silky, even surface.
💡 Pro Tip: Use a spatula to spread the chocolate evenly for uniform thickness.
Step 5: Add toppings
Sprinkle your favorite nuts or dried fruits over the top before the chocolate starts to set. This adds a delightful crunch and a burst of flavor with every bite.
💡 Pro Tip: Press toppings lightly into the chocolate to keep them in place.
Step 6: Chill to set
Place the molds in the refrigerator for 1 to 2 hours until the chocolate bars are firm and completely set. This is the hardest part—resist the urge to dig in too soon!
💡 Pro Tip: For quicker setting, place the bars in the freezer for 30-45 minutes, but be careful not to freeze too long to avoid cracking.
Common Mistakes to Avoid
Learn from these common pitfalls:
- Overheating the chocolate: Can lead to burnt, grainy texture—always melt gently and stir often.
- Skipping the salt: Without sea salt, the chocolate may taste flat and overly sweet.
- Not tapping molds: Trapped air bubbles cause a bumpy, uneven surface.
- Using low-quality chocolate: Affects taste, glossiness, and set of your bars.
- Removing bars too soon: Can cause the bars to break or soften too easily.
- Adding toppings after chilling: They won’t stick properly and may fall off.
Delicious Variations to Try
Once you’ve mastered the classic version, experiment with these delicious twists to make your Irresistible Homemade Chocolate Bars Recipe even more exciting:
Nutty Crunch Delight
Use a mix of roasted pistachios, chopped pecans, and a sprinkle of toasted sesame seeds for a savory twist packed with crunch.
Berry Bliss Bars
Swap in dried blueberries and dried cherries and add a dash of orange zest for a fruity and zesty treat.
Spiced Chocolate Bars
Stir in a pinch of cinnamon and ground cardamom into the melted chocolate for warm, exotic layers of flavor.
Mint Chocolate Medley
Add crushed peppermint candies on top and mix a few drops of peppermint extract into the chocolate for a refreshing, festive bar.
Salted Caramel Swirl
Drizzle homemade halal caramel sauce over the chocolate before chilling, then swirl gently to create a stunning marbled effect.
How to Serve Irresistible Homemade Chocolate Bars Recipe
Garnishes
A light dusting of cocoa powder or a sprinkle of flaky sea salt enhances the visual appeal and adds a flavorful finishing touch.
Side Dishes
Serve alongside fresh berries, whipped cream, or a scoop of vanilla ice cream for an indulgent dessert experience.
Creative Ways to Present
Wrap individual bars in wax paper tied with colorful twine for charming gifts or arrange on a decorative plate with nuts and dried fruit scattered around to create an inviting dessert platter.
Make Ahead and Storage
Storing Leftovers
Store leftover chocolate bars in an airtight container in the refrigerator to keep them fresh for up to 1 week.
Freezing
Wrap bars individually in parchment paper and place them in a freezer-safe bag or container. They freeze well for up to 3 months. Thaw at room temperature before serving.
Reheating
Warm bars gently by placing them in a warm area or briefly microwaving in 5-second intervals if you want to soften them for immediate enjoyment—just be careful not to melt completely.
FAQs
Can I use milk chocolate instead of dark chocolate?
Absolutely! Milk chocolate will make your bars sweeter and creamier but may alter the firmness slightly.
Is coconut oil essential for the recipe?
Coconut oil adds smoothness and helps the bars set firmly, but you can substitute with butter or coconut butter if preferred.
How long will the bars last refrigerated?
Properly stored in an airtight container, these chocolate bars last up to one week in the fridge.
Can I make these bars vegan?
Yes! Use vegan-certified dark chocolate chips and ensure your toppings are plant-based for a delicious vegan treat.
What if I don’t have vanilla extract?
You can skip the vanilla or substitute with almond extract for a different but delightful flavor profile.
How do I prevent the chocolate from blooming?
Keep the bars chilled well and avoid exposing them to temperature fluctuations to prevent white streaks or blooms.
Can I add other flavors or spices?
Definitely! Cinnamon, cardamom, chili powder, or peppermint extract all pair wonderfully with chocolate.
Are these bars safe for kids?
Yes, they’re free from alcohol and harmful ingredients, but moderate consumption is advised due to the richness and caffeine content in dark chocolate.
Final Thoughts
There’s something truly special about crafting your own chocolate bars — the process feels like a small celebration in your kitchen, and the results are always worth sharing. This Irresistible Homemade Chocolate Bars Recipe brings together simplicity, flavor, and an element of personal touch that store-bought sweets just can’t match. Whether you’re treating yourself or gifting something heartfelt, these bars carry a rich story in every bite.
Have you tried this Irresistible Homemade Chocolate Bars Recipe? I’d love to hear how it turned out! Leave a comment below. If you loved this recipe, please share it with friends and family. Happy cooking! 🍫
PrintIrresistible Homemade Chocolate Bars Recipe
This Irresistible Homemade Chocolate Bars recipe offers a simple and quick way to create rich, smooth dark chocolate treats enhanced with vanilla, sea salt, and your choice of nuts or dried fruits. Perfect for chocolate lovers seeking a customizable and elegant snack using minimal ingredients and basic kitchen tools.
- Prep Time: 5 minutes
- Cook Time: 7 minutes
- Total Time: 12 minutes
- Yield: 8 servings 1x
- Category: Dessert
- Method: No-Cook
- Cuisine: International
- Diet: Gluten Free
Ingredients
Chocolate Base
- 1 cup dark chocolate chips (70% cocoa)
- 2 tbsp coconut oil
- 1 tsp pure vanilla extract
- 1/2 tsp sea salt
Toppings (optional)
- 1/4 cup nuts or dried fruits (e.g., almonds, cranberries)
Instructions
- Prepare workspace: Clear your counter and gather all ingredients and tools needed for easy access during the process, ensuring a smooth and uninterrupted workflow.
- Melt chocolate and coconut oil: Combine dark chocolate chips and coconut oil in a microwave-safe bowl. Microwave in 30-second intervals, stirring between each, until the mixture is fully melted and smooth, to avoid burning.
- Add flavorings: Stir in the vanilla extract and sea salt into the melted chocolate to enhance the depth and balance of flavors, ensuring an aromatic finish.
- Pour into molds: Transfer the chocolate mixture into silicone molds or lined baking trays. Gently tap the molds to release any trapped air bubbles, resulting in smooth, evenly textured chocolate bars.
- Add toppings: Sprinkle nuts or dried fruits on top if desired, adding a delightful texture and extra burst of flavor before the chocolate sets.
- Chill to set: Place the molds in the refrigerator and chill for 1 to 2 hours, or until the chocolate bars are firm and completely set, ready for serving.
Notes
- Use high-quality dark chocolate chips for the best flavor and texture.
- You can substitute coconut oil with cocoa butter for a different mouthfeel.
- Feel free to customize toppings with your favorite nuts, seeds, or dried fruits.
- Store the chocolate bars in an airtight container in the refrigerator to maintain freshness.
- Allow chocolate bars to reach room temperature before eating for optimal flavor release.
Keywords: homemade chocolate bars,dark chocolate recipe,easy chocolate bars,coconut oil chocolate,chocolate with nuts,chocolate dessert recipes,healthy chocolate snacks

