
Perfectly Toasted Buns: Your Ultimate Guide to Crispy Bliss Recipe
Picture this: the sizzle of butter melting in a warm skillet, the gentle crackle as your buns toast to a golden crisp, and the irresistible aroma that draws everyone to the kitchen. Nothing compares to the simple joy of biting into perfectly toasted buns—crisp on the outside yet tender inside—that elevate any sandwich or burger. This guide is your ticket to Perfectly Toasted Buns: Your Ultimate Guide to Crispy Bliss Recipe, crafted to bring that delightful crunch and rich flavor to your table with ease.
Why You’ll Love This Perfectly Toasted Buns: Your Ultimate Guide to Crispy Bliss Recipe
- Unbeatable Crunch and Flavor: The buttery, golden crust on each bun gives a satisfying texture that pairs beautifully with any filling.
- Simple Ingredients: Just butter, a splash of oil, and your favorite buns—no complicated shopping necessary.
- Perfect for Any Meal: Whether it’s a casual lunch or weekend burger night, this recipe fits right in with your plans.
- Impressive Yet Effortless: Achieve bakery-quality crispiness right on your stovetop without any fancy equipment.
- Customizable to Your Taste: Choose classic hamburger buns, soft brioche, or slider buns to suit each meal’s vibe.
Why This Perfectly Toasted Buns: Your Ultimate Guide to Crispy Bliss Recipe Works
This recipe’s magic lies in its simplicity and technique. We start by heating your skillet, griddle, or cast-iron pan over medium heat, allowing the warmth to evenly envelop each bun. Adding a tablespoon of butter or your preferred oil creates the perfect medium for crisping while adding rich flavor. Pressing the buns cut-side down firmly ensures maximum contact, resulting in a golden, crunchy surface that’s simply irresistible. This stovetop method is quick, effective, and guarantees buns that are perfectly toasted every time.
Ingredients You’ll Need
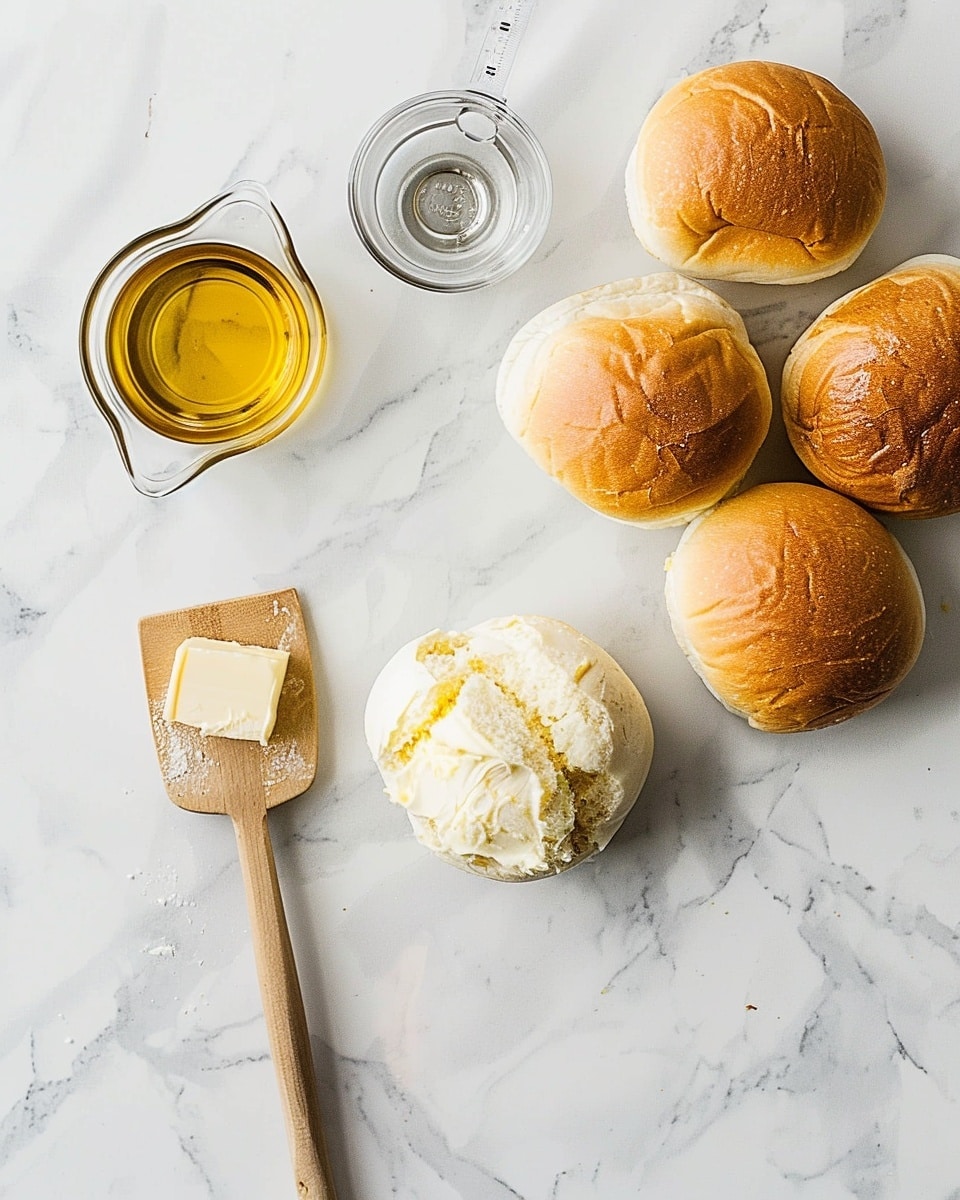
Let’s make your pantry shine with a handful of ingredients that make the magic happen. You’ll only need your favorite buns and a touch of kitchen staples to create that coveted golden crust.
- 4 buns your favorite type of buns (classic hamburger, slider, or brioche): Choose the buns you love most to match your meal style.
- 1 tablespoon butter (let it melt until shimmering): Adds rich flavor and helps achieve a crispy finish.
- 1 tablespoon oil (olive or vegetable oil for lighter option): Keeps buns from burning and offers a lighter taste option.
Ingredient Substitutions & Tips
- Buns: Try whole wheat or gluten-free buns to cater to dietary preferences without sacrificing crunch.
- Butter: Swap for vegan butter or margarine for a dairy-free version while keeping the flavor.
- Oil: Use avocado oil for a higher smoke point and subtle flavor variation.
👨🍳 Pro Tips for Perfect Results
- Use a heavy-bottomed skillet: This ensures even heat distribution for consistent toasting.
- Medium heat is key: Too hot, and the buns burn; too low, and they lose their crisp.
- Don’t overcrowd the pan: Toast in batches if needed so every bun gets perfect contact with the pan.
- Press buns lightly: Gently press with a spatula to encourage even crisping without smashing.
- Watch closely: Toasting takes just 1-2 minutes; stay near to catch the perfect golden moment.
How to Make Perfectly Toasted Buns: Your Ultimate Guide to Crispy Bliss Recipe
Step 1: Heat Your Pan
Start by warming your skillet, griddle, or cast-iron pan over medium heat. This even warmth is essential to create the perfect crispy texture.
💡 Pro Tip: A cast-iron pan holds heat well and intensifies flavor through browning.
Step 2: Add Butter or Oil
Next, add one tablespoon of butter or oil to the hot pan. Let it melt until it shimmers—a sure sign the pan is ready for your buns.
💡 Pro Tip: Combining butter and oil can prevent the butter from burning and enhance flavor.
Step 3: Place Buns Cut-Side Down
Gently lay the buns cut-side down into the pan. This close contact is what toasts their surfaces into a crispy, golden delight.
💡 Pro Tip: Use a spatula to press buns down lightly, encouraging even browning.
Step 4: Toast Until Golden
Watch as your buns toast for 1 to 2 minutes, flipping only when the cut-side turns a deep golden brown and develops a crunchy texture you’ll love.
💡 Pro Tip: Keep an eye on the color; every pan heats differently, and this quick step makes all the difference!
Common Mistakes to Avoid
Learn from these missteps to guarantee success:
- Using high heat: Can burn buns before they’re toasted through.
- Skipping oil or butter: Results in dry buns without that rich, crispy layer.
- Toasting too long: Leads to bitter, overly hard buns.
- Pressing too hard: Crushes the bun’s soft interior instead of just crisping the surface.
- Not drying buns: Moisture can steam buns, preventing crispness.
- Overcrowding the pan: Reduces heat contact, causing uneven toasting.
Delicious Variations to Try
Once you’ve nailed the classic version, why not add a little flair?
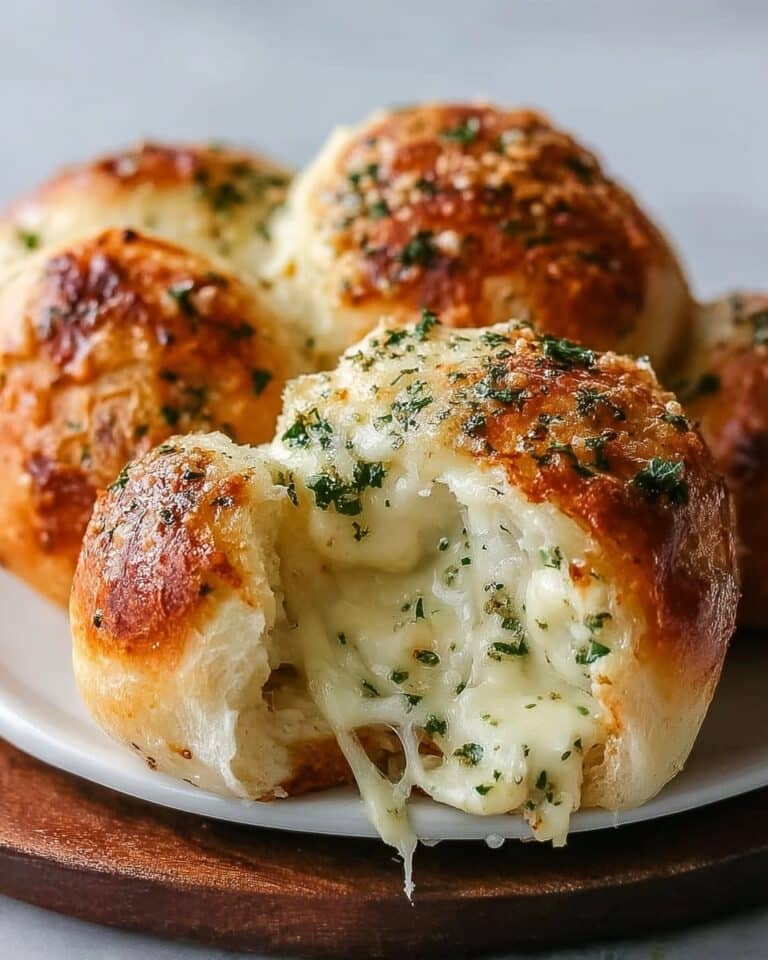
Garlic Herb Bliss
Brush buns with a mix of melted butter, garlic powder, and dried herbs like oregano or thyme before toasting for an aromatic twist.
Cheese Melt
Add a slice of your favorite halal cheese on the cut side during the last 30 seconds of toasting for a gooey, savory upgrade.
Sweet Cinnamon Toast
Swap savory for sweet by sprinkling a mix of sugar and cinnamon on buttered buns, then toast to caramelized perfection.
Spicy Kick
Mix a little smoked paprika or cayenne into your oil before toasting to awaken your taste buds.
Classic with a Side
Serve your perfectly toasted buns alongside our Crispy Oven Baked Sweet Potato Fries Recipe for a classic yet vibrant meal.
How to Serve Perfectly Toasted Buns: Your Ultimate Guide to Crispy Bliss Recipe

Garnishes
Sprinkle sesame seeds, poppy seeds, or crushed sea salt on the butter before toasting to add texture and eye-catching appeal.
Side Dishes
Pair with creamy, buttery sides like our Creamy Honey Butter Skillet Corn Recipe to complement your crunchy buns perfectly.
Creative Ways to Present
Stack toasted buns with colorful veggies, grilled meats, or falafel for mouthwatering sandwiches that steal the show at any meal.
Make Ahead and Storage
Make-Ahead Instructions
Toast buns just before serving for best crunch, or pre-toast slightly and refresh in a hot pan for a minute to revive crispness.
Storage
Keep leftover buns tightly wrapped at room temperature for up to 2 days to maintain freshness without drying out.
Freezing
You can freeze buns before toasting for up to a month. Thaw fully before toasting for best results.
Reheating
To bring frozen or leftover buns back to life, re-toast them in a skillet over medium heat with a light brush of butter or oil until crisp.
Expert Tips for Success
- Use fresh buns: Day-old buns can work but fresh ones toast better and taste sweeter.
- Dry your buns: Pat buns with a paper towel if they seem moist to avoid steaming.
- Combine fats: A butter and oil blend helps prevent burning and adds flavor complexity.
- Press gently: Firm but delicate pressure ensures even browning without squashing.
- Experiment with bun types: Brioche adds richness, sliders are perfect for appetizers.
- Don’t rush: Let buns develop that deep golden hue for optimal crunch and taste.
- Serve immediately: Toasted buns lose crispness fast, so serve while warm for best experience.
Frequently Asked Questions
Can I use frozen buns for this recipe?
Yes! Just thaw them completely before toasting to get the best crispy texture without sogginess.
What if I don’t have butter?
Vegetable or olive oil works well as a lighter alternative and still crisps the buns nicely.
How long can I store toasted buns?
For the best crunch, enjoy toasted buns immediately. Leftovers can be stored un-toasted for a couple of days.
Can this recipe be adapted for gluten-free buns?
Absolutely! Just swap in your favorite gluten-free buns and follow the same toasting steps.
Is the skillet method better than using a toaster?
Toasting on the stove gives you buttery, golden edges that a toaster can’t replicate, elevating flavor and texture.
Can I add seasonings to the butter?
Definitely! Infuse your butter with garlic, herbs, or spices to add a personalized touch to your buns.
What buns work best for this recipe?
Soft buns like brioche or classic hamburger buns are ideal because they crisp beautifully without drying out.
Final Thoughts
There’s something deeply satisfying about the humble toasted bun done just right—the crunch under your fingers, the buttery aroma that fills the kitchen, and the way it elevates every bite of your favorite sandwich or burger. This Perfectly Toasted Buns: Your Ultimate Guide to Crispy Bliss Recipe is a little gem that brings big flavor with very little fuss. I can’t wait for you to experience the simple pleasure of these irresistibly crisp buns at your next meal. Get ready to impress yourself and your loved ones with every golden bite!
Related Recipes You’ll Love
If you enjoyed this recipe, you’ll also love these delicious recipes:
- Delicious Creamy Scalloped Potatoes Recipe for Comfort Food Recipe – Foodarohub – Dive into tender, cheesy layers of comfort with this rich and creamy scalloped potatoes recipe that’s a classic crowd-pleaser.
Perfectly Toasted Buns: Your Ultimate Guide to Crispy Bliss Recipe

Learn how to achieve perfectly toasted buns with a simple skillet technique that delivers a crispy, golden crust every time, ideal for hamburgers, sliders, or brioche.
- Prep Time: 5 minutes
- Cook Time: 2 minutes
- Total Time: 7 minutes
- Yield: 4 servings 1x
- Category: Bread / Toasting
- Method: Stovetop
- Diet: Vegetarian
Ingredients
Ingredients
- 4 buns your favorite type of buns (classic hamburger, slider, or brioche)
- 1 tablespoon butter (let it melt until shimmering)
- 1 tablespoon oil (olive or vegetable oil for lighter option)
Instructions
- Steps to Toast Buns Start by heating your skillet, griddle, or cast-iron pan over medium heat.
- Add the tablespoon of butter or oil to the pan and allow it to melt and shimmer.
- Place the buns cut-side down in the pan and press them gently with a spatula.
- Toast the buns for 1–2 minutes or until they turn deeply golden and crisp.
Notes
Keywords: toasted buns, crispy buns, skillet toasted buns, burger buns, brioche toast

