
Salted Caramels Recipe
I never thought I’d find a Salted Caramels Recipe easier than this one, yet every bite is pure magic. Imagine the rich aroma of butter and sugar swirling through your kitchen, inviting you to savor these soft, chewy treasures crowned with just the right hint of salt. Whether you’re gifting them or indulging in a moment of sweet bliss, these caramels promise a melt-in-your-mouth experience you’ll want to make again and again.
Why You’ll Love This Salted Caramels Recipe
- Rich, Creamy Flavor: Each caramel is perfectly cooked to achieve that luxurious, chewy texture everyone adores.
- Simple Ingredients: With pantry essentials like evaporated milk, butter, sugar, and corn syrup, you can whip up these treats without hunting down rare items.
- Make Ahead Friendly: After just 5 minutes of prep and 25 minutes of stovetop cooking, the caramels take around 8 hours and 30 minutes to set – perfect for planning ahead.
- Perfect for Sharing: Cut into bite-sized squares and wrapped in wax or parchment paper, these caramels make irresistible gifts or party favors.
- Customizable Salt Level: The delicate sprinkle of salt atop these caramels adds balance, but you can adjust to your taste for that ideal sweet-salty harmony.
Why This Salted Caramels Recipe Works
The magic here lies in the slow, attentive cooking process on the stovetop, where constant stirring prevents burning and encourages that beautiful golden hue. Combining evaporated milk, heavy cream, sugar, butter, and salt creates a creamy base that’s rich without being overwhelming. Adding corn syrup gradually and cooking to precise temperatures (230°F, then 239°F) achieves the perfect chewy consistency that holds its shape but still melts delightfully on your tongue. This recipe’s method is classic but carefully perfected for the ideal texture and flavor every time.
Ingredients You’ll Need
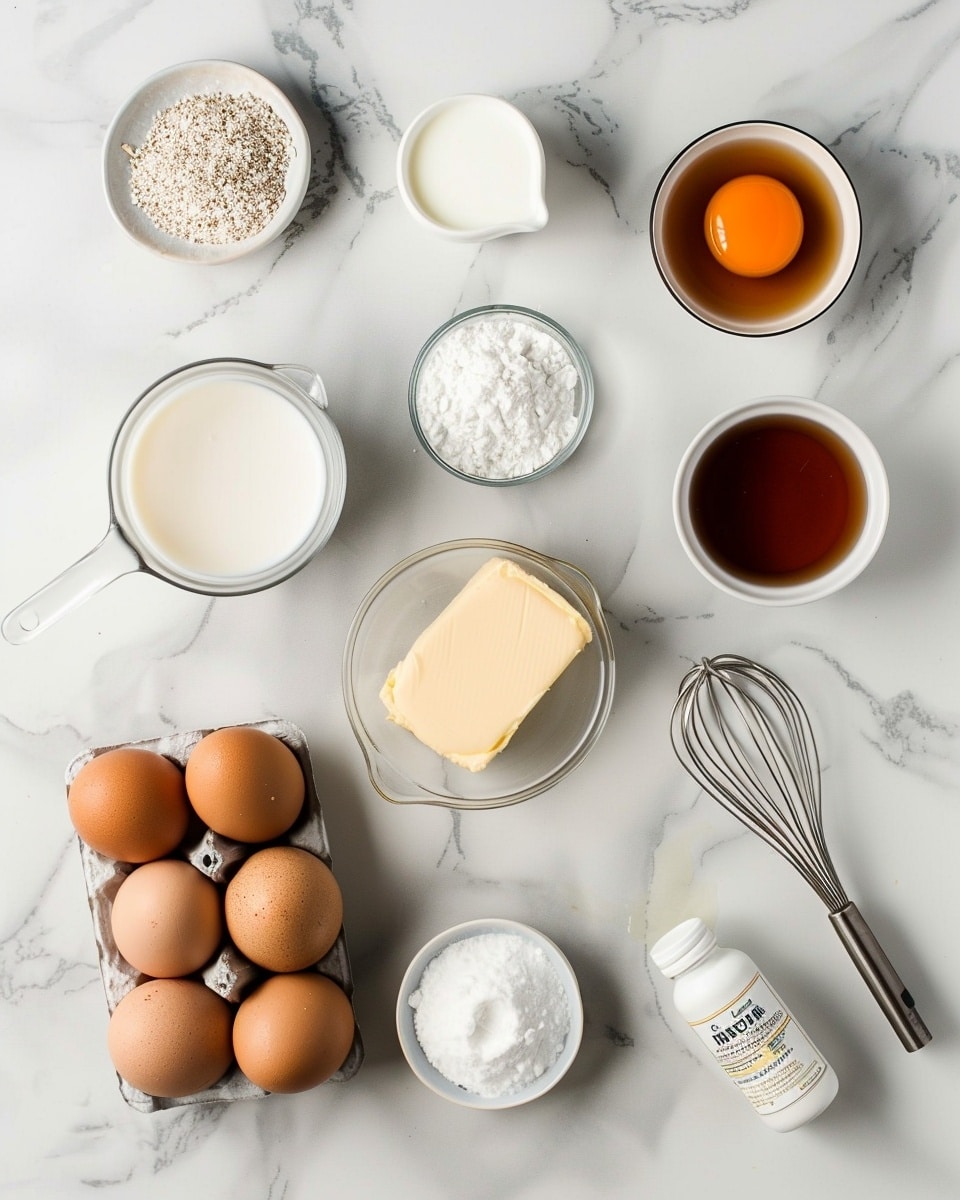
Gather a handful of everyday staples, elevated simply by the careful balance of their creamy, buttery richness and a touch of salt. These ingredients come together to create caramel bliss right in your own kitchen.
- 680 grams Evaporated Milk (2 , 12 ounce cans): Provides a smooth, creamy base that deepens the caramel’s richness.
- 280 grams Heavy Cream (fill up one of the 12 ounce cans): Adds luxurious smoothness and enhances texture.
- 700 grams Sugar: The heart of sweetness that caramelizes to golden perfection.
- 5 grams Salt: That crucial touch of saltiness brightens and balances the sweetness.
- 200 grams Butter: Adds richness and a silky mouthfeel to the caramel.
- 570 grams Corn Syrup: Contributes to the chewy texture and helps prevent crystallization.
Ingredient Substitutions & Tips
- Heavy Cream: You can substitute with half-and-half for a lighter option, though the texture might be slightly less creamy.
- Butter: Unsalted butter is best for control over salt levels, but you can use salted butter and reduce added salt.
- Corn Syrup: If unavailable, glucose syrup is a good alternative to maintain chewiness.
- Evaporated Milk: In a pinch, replace with equal parts whole milk and reduce cream slightly, but expect subtle differences in texture.
👨🍳 Pro Tips for Perfect Results
- Use a heavy-bottomed pot: This ensures even heat distribution and prevents burning during caramel cooking.
- Stir constantly: Patience here avoids sugar crystallization and creates a smooth, shiny caramel.
- Use a candy thermometer: Accurate temperature monitoring at 230°F then 239°F guarantees the ideal chewy texture.
- Prepare your pan ahead: Lining a 9 x 13″ pan with parchment helps you lift the caramel out easily once set.
- Grease your knife before cutting: This prevents sticky caramels from clinging and helps you slice perfect squares.
How to Make Salted Caramels Recipe
Step 1: prepping
Start by lining a 9 x 13-inch pan meticulously with parchment paper, allowing some overhang on the sides. This little extra makes lifting your finished salted caramels out of the pan a breeze—no wrestling with sticky edges.
💡 Pro Tip: Use a light spray or a thin layer of butter underneath the parchment to keep it firmly in place during pouring.
Step 2: combining
Gather your evaporated milk, heavy cream, sugar, salt, and butter, then combine everything except the corn syrup in a sturdy, heavy-bottomed pot. This mixture will become that silky, sweet base that’s nothing short of caramel perfection.
💡 Pro Tip: Having your ingredients measured and ready ensures a smooth cooking process without interruption.
Step 3: cooking
Set your pot over medium heat, and with dedication, stir constantly. Watch and wait as the mixture thickens, heating evenly until it reaches 230°F. This marks the point where your caramel begins its delicious transformation.
💡 Pro Tip: Stir carefully to avoid incorporating air bubbles which can affect the texture.
Step 4: cooking
Now comes the slow and steady addition of corn syrup, streaming it in gently while maintaining your stirring rhythm. This syrup is the secret to that chewy, luscious consistency that defines these salted caramels.
💡 Pro Tip: Adding corn syrup slowly prevents sudden temperature changes that might cause crystallization.
Step 5: cooking
Bring everything back to a boil and continue stirring nonstop until the thermometer signals 239°F. This precise temperature is crucial — it’s the sweet spot for chewy caramels that hold shape yet remain tender.
💡 Pro Tip: If you notice the mixture pulling away from the sides, you’re very close; stay vigilant!
Step 6: pouring
Turn off the heat and carefully pour your golden liquid caramel into the prepared pan. The aroma alone is a sign that you’re creating something truly special. Allow it to cool for a bit before moving on.
💡 Pro Tip: Pour evenly to ensure your caramels set uniformly.
Step 7: cooling
When the surface feels cool to the touch, cover the pan gently, then let the caramel sit undisturbed overnight. This patient resting embeds the perfect chewy texture, ready to be cut into delightful bites.
💡 Pro Tip: Covering prevents the caramel from drying out but avoid airtight seals that trap moisture.
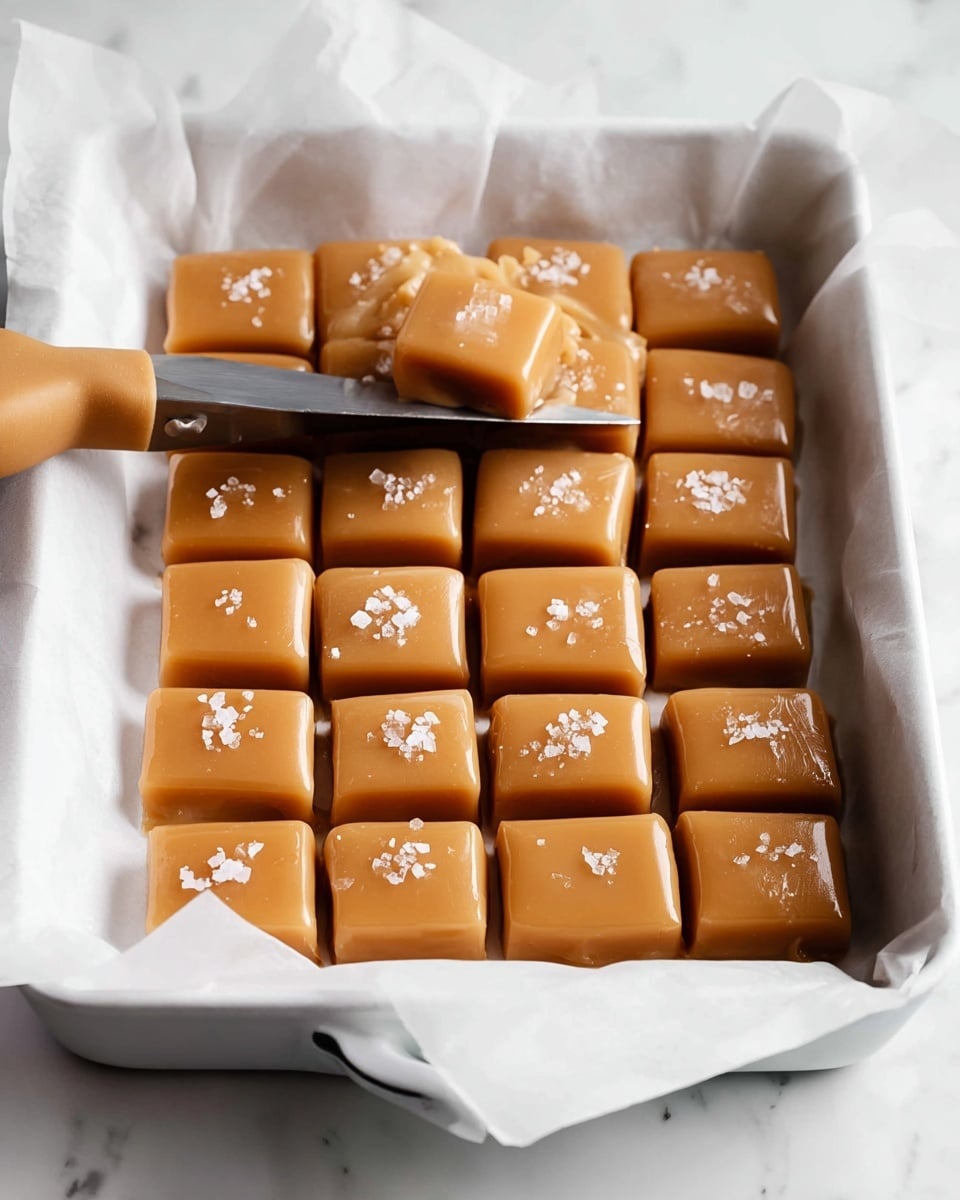
Step 8: wrapping
Once set, grab a greased knife and cut the caramel block into your desired square sizes. Wrapping each piece in 5 x 5-inch squares of wax paper, parchment paper, or candy wrappers keeps them fresh and makes sharing a joy.
💡 Pro Tip: Greasing your knife with butter or oil ensures clean cuts without sticky residue.
Common Mistakes to Avoid
Learn from these common pitfalls:
- Skipping the candy thermometer: Without precise temperature control, caramels can end up too hard or too soft.
- Not stirring constantly: This can cause burning or grainy caramel due to crystallization.
- Adding corn syrup too quickly: May cause sudden temperature drops, leading to texture problems.
- Using a thin-bottomed pot: Results in uneven heating and possible scorching.
- Cutting caramels before fully set: Leads to sticky, misshapen pieces that don’t hold their form.
- Not wrapping caramels properly: Exposure to air can cause stickiness and loss of freshness.
Delicious Variations to Try
Once you’ve mastered this classic Salted Caramels Recipe, feel free to get creative and tailor the flavor to your liking.
Vanilla Bean Caramels
Add the seeds of a vanilla bean pod to the initial milky mixture for an aromatic boost that pairs perfectly with the buttery caramel.
Cinnamon-Spiced Caramels
Sprinkle in a teaspoon of ground cinnamon right after the sugar melts, infusing the caramel with warm, comforting spice notes.
Coconut Salted Caramels
Stir in a bit of coconut cream instead of some of the heavy cream for a tropical twist that adds richness and subtle sweetness.
Chocolate-Dipped Caramels
Once cut and wrapped, dip individual caramel squares in melted dark chocolate for a decadent finish that intensifies the flavor.
Espresso Caramels
A teaspoon of espresso powder whisked into the sugary mix gives a deep, bold coffee note balancing the sweetness beautifully.
How to Serve Salted Caramels Recipe
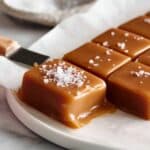
Garnishes
A light sprinkle of flaky sea salt on top of each caramel right after pouring before they set adds a lovely crunch and visually enticing sparkle.
Side Dishes
These caramels shine paired with hot coffee or black tea, cutting through their richness with just the right bitter contrast.
Creative Ways to Present
Arrange your wrapped caramels in decorative tins or mason jars tied with festive ribbons for thoughtful gifts. You can also present them on a small dessert board with nuts and dried fruits to create an indulgent sweet platter.
Make Ahead and Storage
Make-Ahead Instructions
Prepare the caramel the day before you plan to enjoy or gift it. The overnight cooling step perfectly sets the texture and flavor.
Storage
Store your wrapped caramels in an airtight container at room temperature or in the refrigerator for up to two weeks to maintain their chewy texture.
Freezing
You can freeze wrapped caramels for up to two months. Thaw in the refrigerator overnight before serving to preserve their indulgent consistency.
Reheating
If the caramels become too firm, a few seconds in the microwave on low power or simply letting them come to room temperature restores their softness.
Expert Tips for Success
- Always use a reliable candy thermometer to monitor your cooking temperatures precisely.
- Patience is key—stir slowly and steadily to prevent burning or crystallization.
- Prep your pan and wrapping materials before you start cooking.
- Grease your knife for smooth, clean slicing.
- Store wrapped caramels properly to keep them fresh and delicious.
- Let the caramel cool thoroughly before cutting to avoid sticky messes.
Frequently Asked Questions
Can I use light corn syrup instead of regular?
Yes, light corn syrup works perfectly for texture and prevents crystallization just like regular corn syrup.
Why do my caramels turn grainy sometimes?
This usually happens when the sugar crystallizes, often due to insufficient stirring or impurities in the pan. Using a heavy-bottom pot and stirring constantly helps prevent this.
Can I skip the salt if I want plain caramel?
You can omit the salt, but we recommend keeping a small amount for balance, as the salt enhances the caramel’s sweetness and depth.
How thick should the caramel be when cooking?
The caramel should reach 239°F on a candy thermometer, which corresponds to a firm but chewy stage when cooled.
Is it necessary to let the caramel set overnight?
Yes, the overnight resting allows the caramel to fully firm up and develop that perfect chewy texture.
What type of butter should I use?
Unsalted butter is ideal as it gives you control over the salt content, but salted butter can be used if you adjust the added salt accordingly.
Can I store caramels at room temperature?
Yes, wrapped caramels store well at room temperature for about two weeks as long as they are in an airtight container.
Final Thoughts
There is something truly special about making your own salted caramels from scratch—the rich, buttery flavor, and that perfect chewy texture with a hint of sea salt create a treat that feels both indulgent and comforting. I hope this Salted Caramels Recipe brings a little extra joy to your kitchen and inspires sweet moments shared with loved ones. Trust me, once you try this, you’ll be hooked on the warm, nostalgic magic these caramels deliver every time.
PrintSalted Caramels Recipe
These Salted Caramels are rich, creamy, and perfectly salted homemade treats that set overnight to give you smooth and delicious candies perfect for gifting or snacking.
- Prep Time: 10 minutes
- Cook Time: 25 minutes
- Total Time: 10 hours 35 minutes
- Yield: 60 servings 1x
- Category: Candy
- Method: Stovetop
- Cuisine: American
Ingredients
Ingredients
- 680 grams Evaporated Milk (2 , 12 ounce cans)
- 280 grams Heavy Cream (fill up one of the 12 ounce cans)
- 700 grams Sugar
- 5 grams Salt
- 200 grams Butter
- 570 grams Corn Syrup
Instructions
- Prepping: Line a 9 x 13″ pan with parchment paper, leaving some overhang on the sides so you can easily lift the finished caramel out of the pan.
- Combining: Combine all ingredients except for corn syrup in a heavy duty thick bottomed pot.
- Cooking: Over medium heat, stirring constantly, cook to 230F.
- Cooking: Slowly stream in corn syrup.
- Cooking: Return to a boil, continue cooking until 239F. Do not stop stirring.
- Pouring: Turn off heat. Pour into prepared pan. Let cool.
- Cooling: Cover when cool to touch and let sit overnight to set up.
- Wrapping: Using a greased knife, cut into desired size. Wrap in 5 x 5 ” squares of wax paper, parchment paper, or use precut candy wrappers.
Notes
Keywords: Salted Caramels, Homemade Caramels, Candy Recipe, Sweet Treats, Caramel Candy

